Friday, April 27, 2007

Tack Welding the Frame Tubes

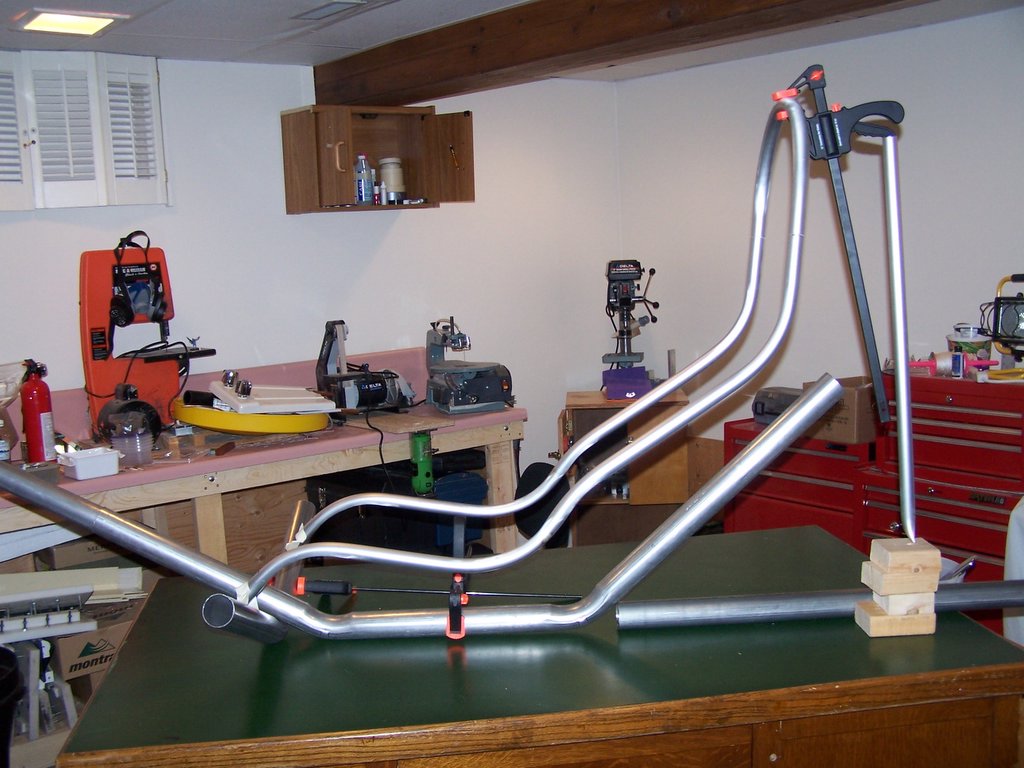
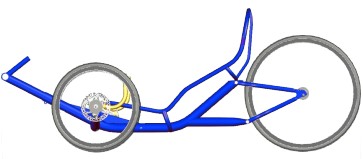
Today I moved the welding jig out to the garage in prep for tack welding. Ironically all the work that went into the jig culminated in about 30 seconds of welding. Every fiber of my being wanted to just keep on welding and have it finished but I knew inside that the hardest thing to undo is something welded in the wrong place, even it only slightly wrong. In fact the entire bike will be tack welded until all the alignments can be verified and then the welding will be finished.


In my humble opinion this is the sexiest piece of metal I have had any part of making. How could you not drool over this?

Posted by Picasa

Thursday, April 26, 2007

Finishing the Welding Jig

Ok, today we finish the welding jig we started yesterday, we left off with the cross tube part of the jig finished:

Cut a hole for the main tube to fit through. Obviously not a precise hole.
.


Now screw 2 pieces of melamine together to square the piece the main tube will be attached to.


Butt the cross tub jig up.


Position the cross tube so it is centered on the main tube. Since the cross tube is now level, you just have to make sure the main tube sits down evenly in its notch. hmmm that reminds me I am not sure I checked that the notch is square to the main tubes bend, will have to check before welding...


Screw the cross tube jig to the piece the main tube is attached to.


We can now remove the piece used to as a square


Now we screw a square piece in the corner to square it that way (such precise words)


Now we fine tune where the main tube is sitting, this part should be level


Whoops! The table isn't level! The jig has to be moved to the garage for welding, so I will re-level everything there.


The jig is done! I feel like I should be doing a whole bunch of measuring to check everything, but that was the whole problem in the first place, no places to precisly measure from...


Wednesday, April 25, 2007

Starting the Jig for Aligning the Frame Tubes

Here is the start of the jig I will use to align the 2 frame tubes for welding. Today we deal with the cross tube.


Install a bolt in each end plate as a reference point.


Drill some temporary mounting holes


Screw on a 2x2 to the end plate.


Align the tube even with the bottom of a piece of melamine. the hole saw in the middle approximates where the next jig piece goes so it will line up with the pre-drilled holes


Nail the 2x2s in place.


The cross tube is now flat and level to the bottom edge of the melamine. Part one of the jig is now finished!


Sunday, March 11, 2007

The Cross Tub End Plates


This week I rough cut and drilled the cross tube end plates, tack welded them in place and trimmed the cross tub to match. The more I use my saw-z-all the more I like it! The mounting holes for the steering knuckle are tilted from vertical to set the caster of the steering to 12 degrees. Later the end plated will be trimmed to an oval shape around the small holes, but for now I decided to leave them untrimmed so that I can use the edge as a reference point for aligning tube tube to vertical when I weld it to the main tube.


Here is a pic with the rod ends that make up part of the steering knuckle stuck in to see how it looks.

Saturday, March 03, 2007

Cutting the Notch in the Main Frame Tube for the Cross Tube

Today I cut the half circle notch in the bottom of the main frame tube. This notch is what the cross tube fits into. The challenge was cutting the notch square . I used the set up below and it worked quite well. Since the tube was too big to bolt down to the table on the drill press, I attached it to a 2'x2' piece of MDF which happens to have my vise attached to it. I clamped the piece of MDF to the table of the drill press upside down and then clamped another piece of wood in the jaws of the vise. I could then get the tube square to the drill by moving where the vise was clamped on the supporting piece of wood. Clear as mud? A picture really says a thousand words.


After I cut the notch, I clamped the two pieces together to see how they fit. Later I will clamp it all square and weld them together.


Sunday, February 11, 2007

One Man's Treasure

This weekend I made some real progress getting my shop put together and in order. Maybe after almost a year I will get some more done on the trike. On Saturday, Kirsten and I took our recycling in to Fort Saskatchewan. Kirsten had told me that they had a spot for scrap metal so I though I would take a look to see if there was anything I could use. Re-use IS the ultimate form of recycling after all. To my surprise and delight I found a mountain bike frame. I was still hesitating about cutting up the donor bike I got at the police auction since I liked it so much. As a bonus the frame had two bottle cages, a seat for my other bike and ratchet shifters. I had been curious to see if ratchet shifters would be easier to configure than the grip shifters I was going to use, now I can find out!


The rear triangle removed after I cut it off with the sawzall I got at Princess auto.


The rear triangle mocked up with the rest of the Road Rooster frame.


Tuesday, September 19, 2006

The Donor Bike

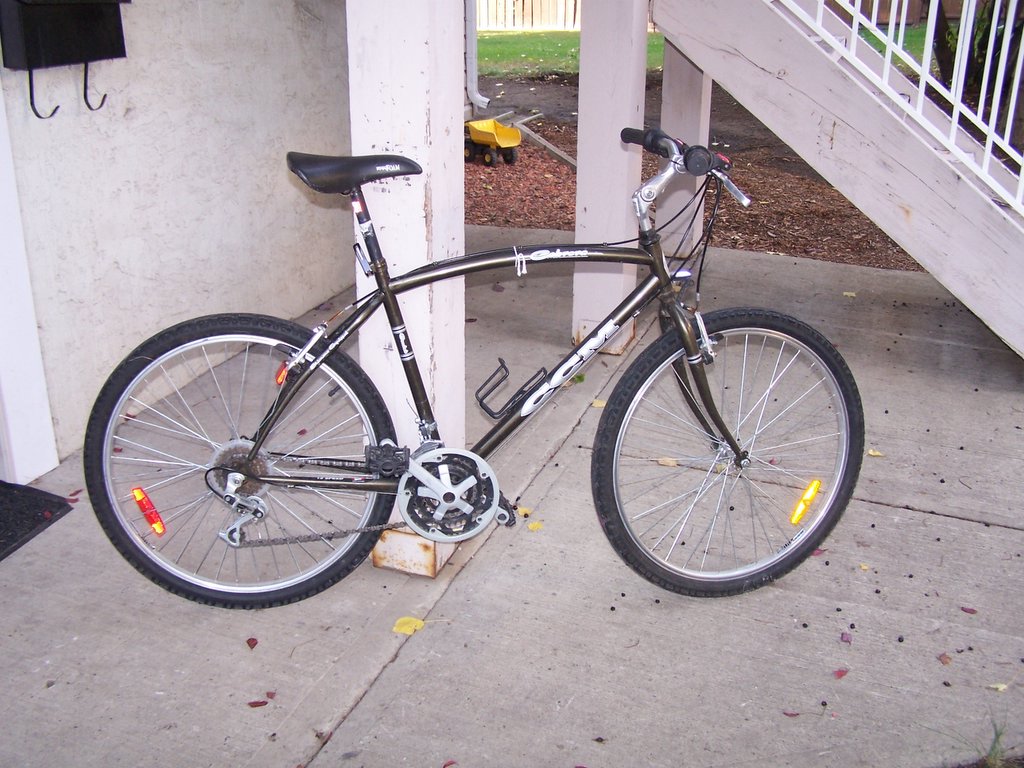
Here is the donor bike I bought for the Road Rooster project. I got it for $20 at the police auction in Winnipeg (but with no seat). I need the rear wheel, crank assembly, both brakes, derailers and grip shifters as well as cutting off the rear triangle. I like the tires it has too!
But here is a problem. I took it for a couple rides and I think I like it better than my good 2 wheel bike... but I am not about to cut up my good bike for the Road Rooster... decisions, desisions...


Total cost: $20.00
Total project parts cost to date: $131.10
Total project cost to date: $138.29
Project budget: $200
Remaining budget: $61.71

Wire Feed Welder

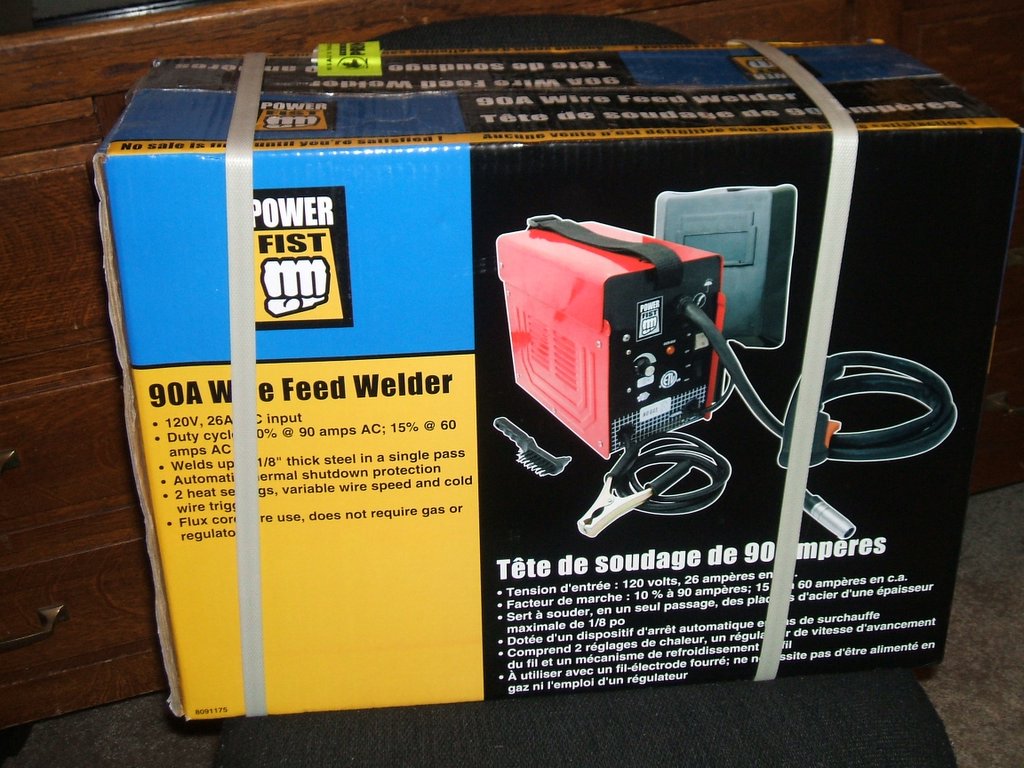
I love Princess Auto. I went there to look at their wire feed welders and sure enough they were on sale for a ridiculously low price. Also bought a welding helmet and gloves. Where else can you buy a welding helmet for $7? Posted by Picasa

Wednesday, March 15, 2006

I got pipe!


Yesterday I got the tubing made for the main frame of the "Road Ruzter" (as Bruce calls it). I was a little nervous because the main tube has 2 bends that must be made on exactly the same plane. The guys at Midas did a great job, the bends are bang on! 3 of the tubes are 2" exhaust tubing and the 4th is 1 7/8" so that it slides inside the 2". This allows the pedals to be adjustable for the rider's height. I chose exhaust tubing instead of aluminum because I don't have any way to weld aluminum myself, even though it is much lighter.

The 2nd picture is the mock up with the seat frame.

Total cost: $49.02
Total project parts cost to date: $111.10
Total project cost to date: $118.29
Project budget: $200
Remaining budget: $81.71 Posted by Picasa

Saturday, February 25, 2006

Seat Frame

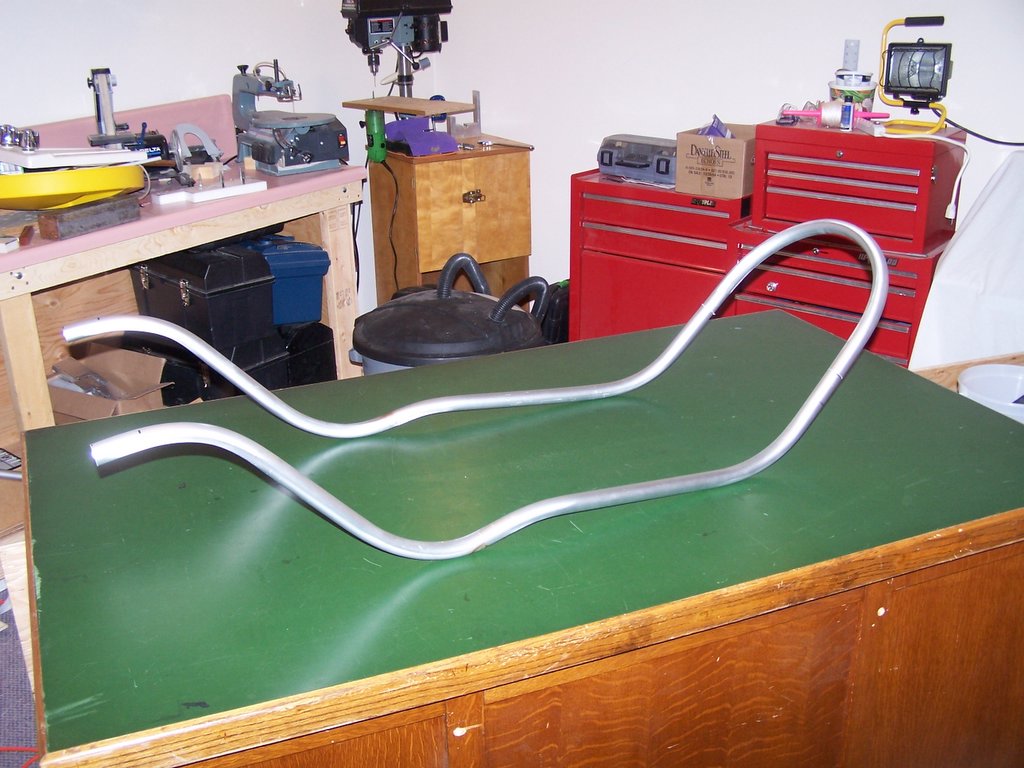
This is the assembled seat frame. It is comprised of 3 pieces of 1" aluminum, the 2 sides and the top hoop.
Total cost: $18.47 CAD
Total project parts cost to date: $62.08
Total project cost to date: $69.27
Project budget: $200
Remaining budget: $130.73

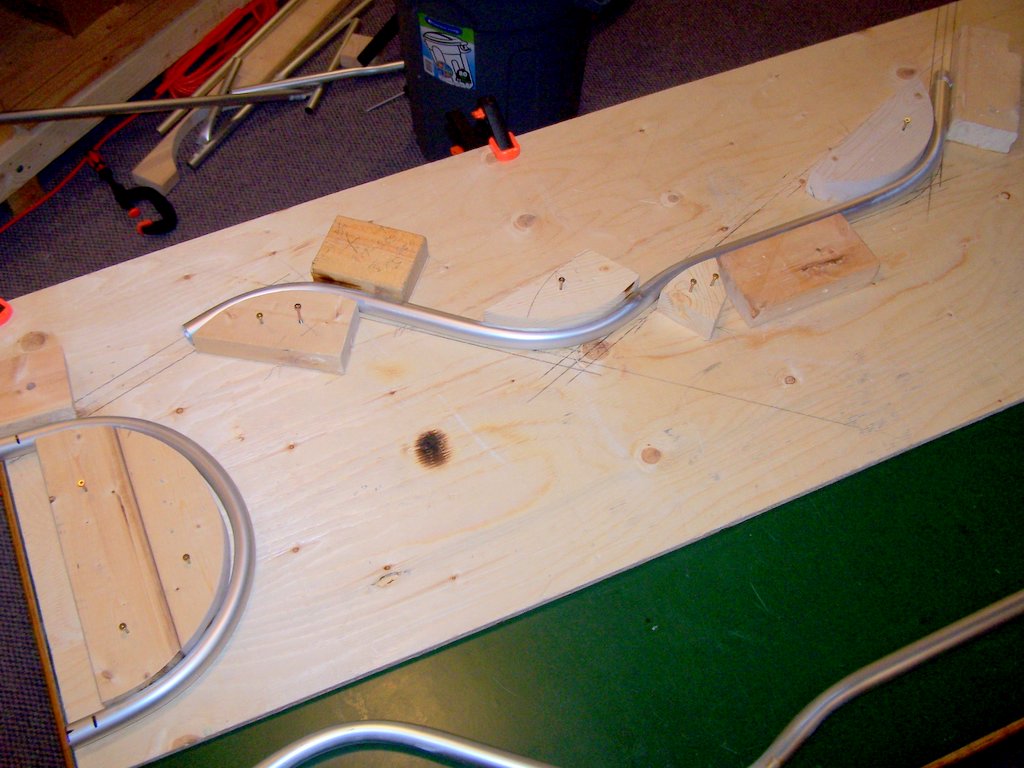
Tube bending jig

These are the 2 tube bending jigs I built to bend the seat frame. The tubes are shown after they were trimmed for length. I had to heat the tubing to get it to bend properly because of the "spring back" when bending. Posted by Picasa
Tuesday, February 14, 2006

Success!


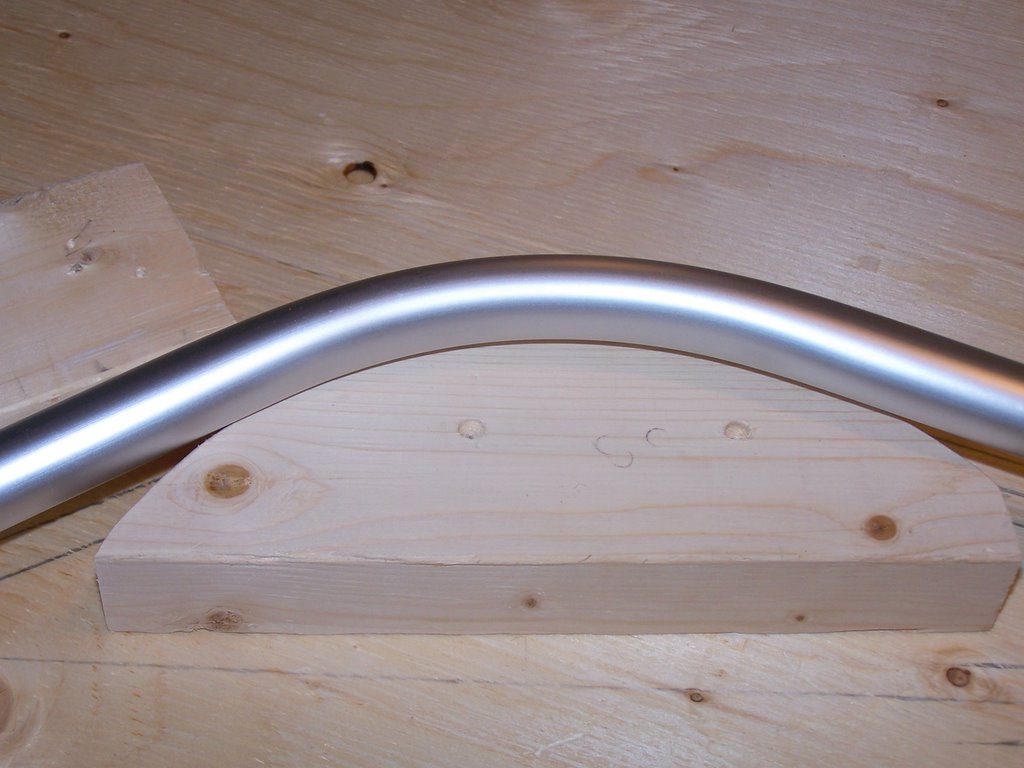
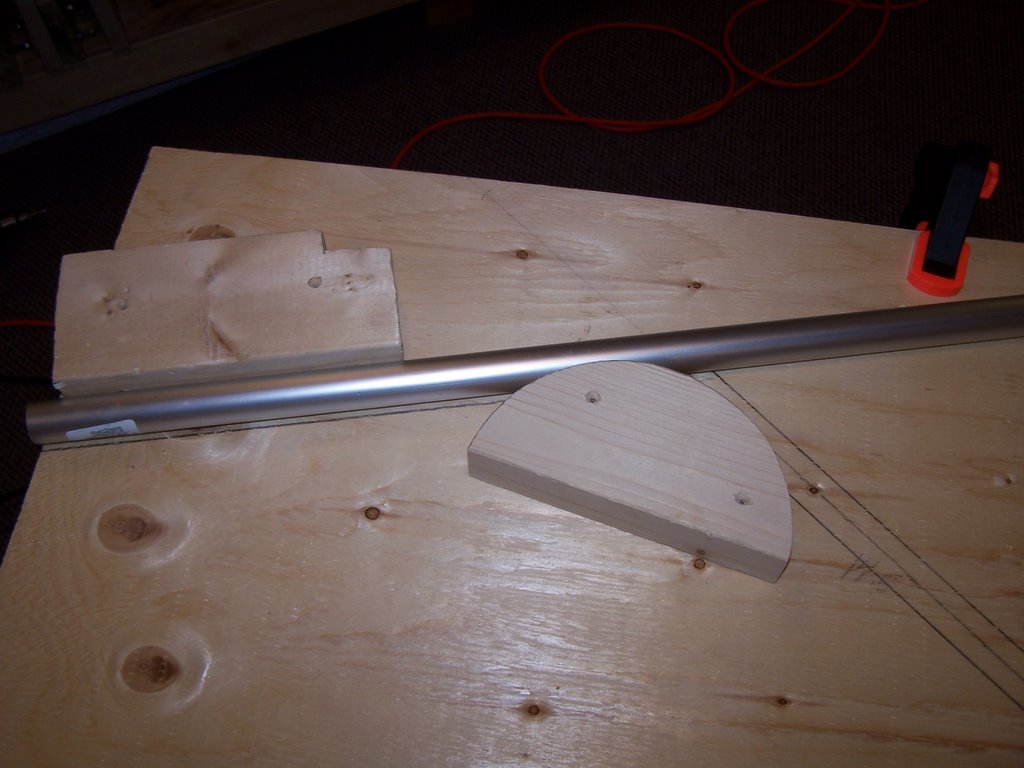
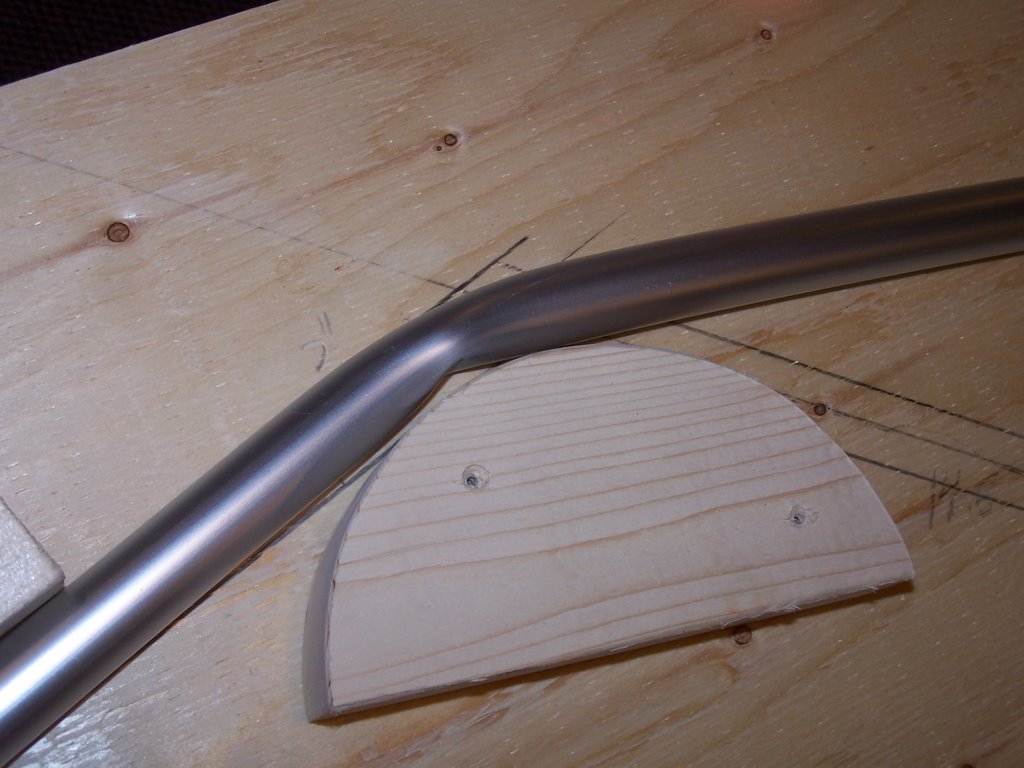
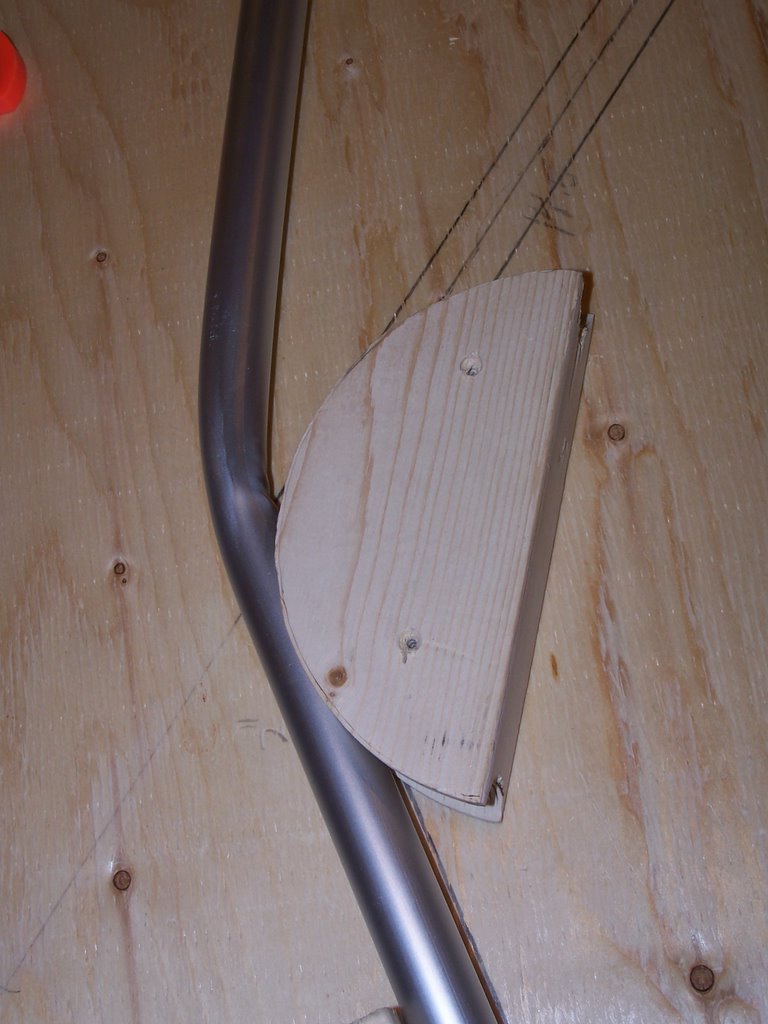
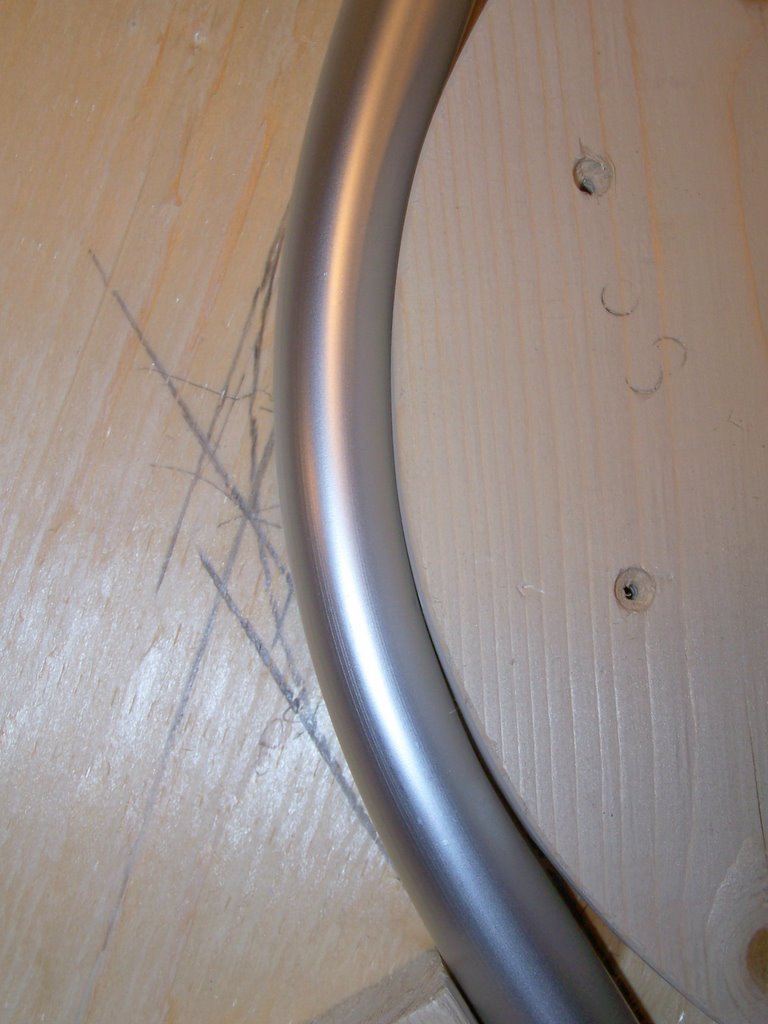
I cut a new bending surface, this time with a 5.5 inch radius instead of the previous 3.5. As you can see no kinking and I didn't even use a groove! I may have to adjust the seat design slightly to accomodate the larger radius bends.

Failure!


Sadly, both the plain curve and the grooved curve both kinked the tubing. I suspect it has to do with the tight 3 inch radius I am trying to bend!

Making the bending jig


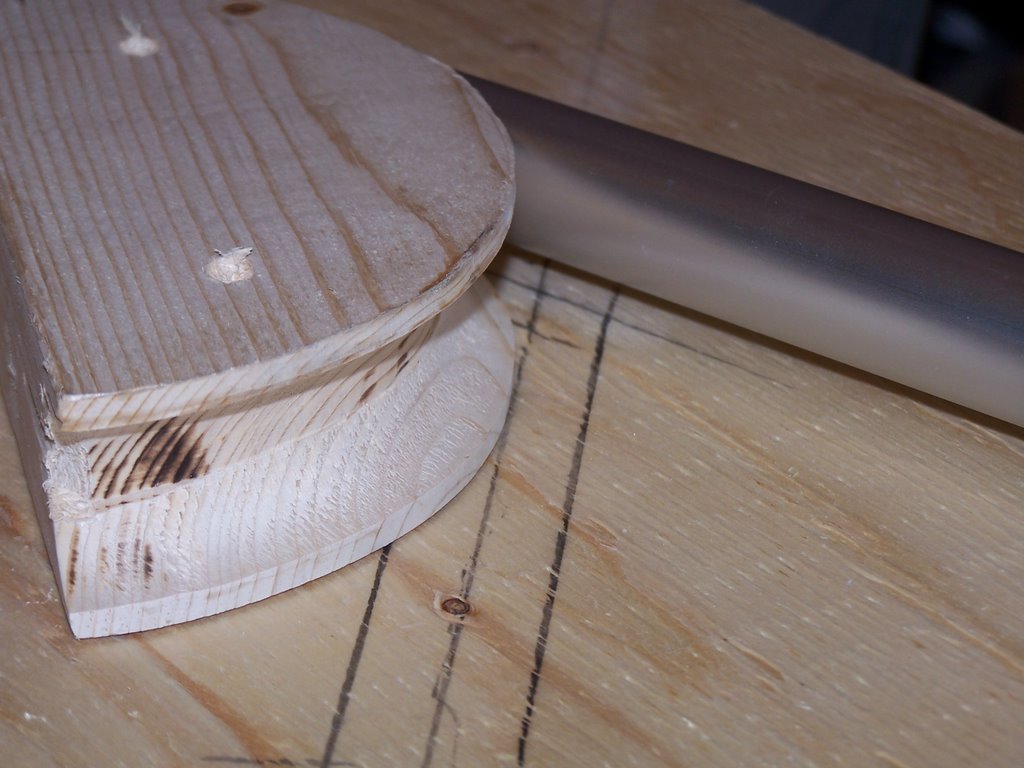
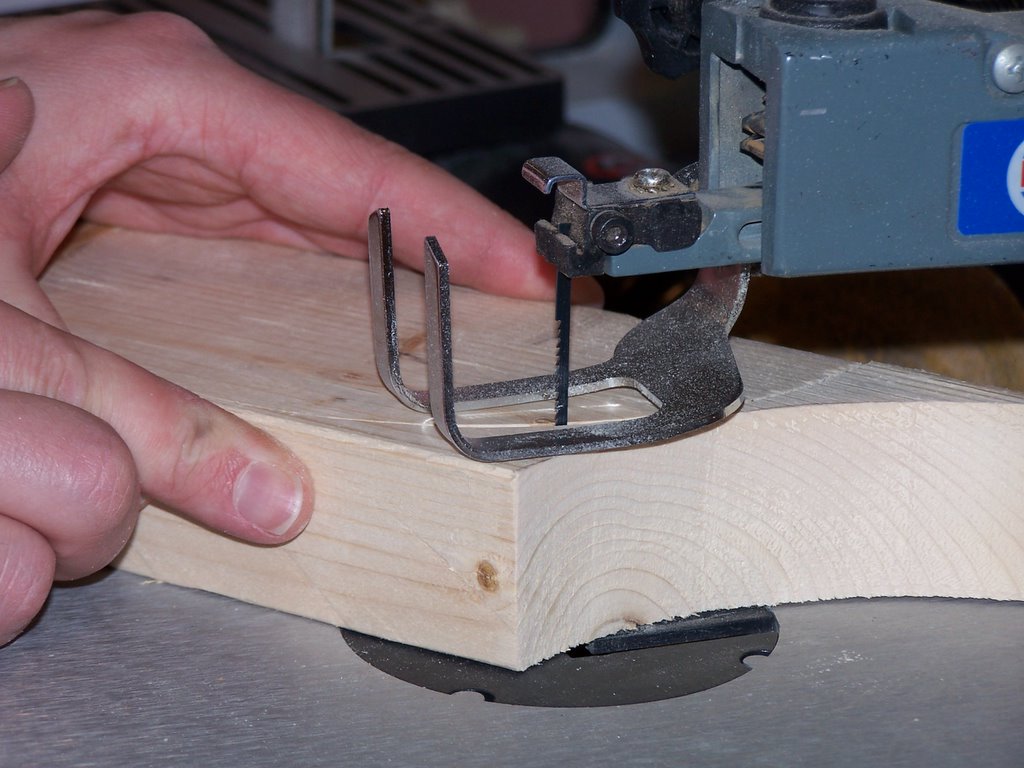
Here are some quick pics of me making the jigs for bending the seat frame. These will get screwed to the plywood layout I showed in an earlier post. The last photo shows routering a groove, I only did one this way, I will try it both ways to see if the groove is necessary to stop the tube from kinking.